Showing posts with label printmaking. Show all posts

Friday, February 12, 2016

The Documented Life Project- The Unplanner- Week 6


Hello great people! :) This are my pages of Week 6 from my Unplanner! We are in the month of love, so i was inspired by that!
This week i made my February cover, which i will share with you tomorrow my process to make it! :)
All the process of this week goodies started with papers that I already add printed with my own hand stamps and stencils!
Then I make one of my recent inventions!! Love Catcher! Love that we all need to have a powerful and shining life! I also did my Pretty Please list!
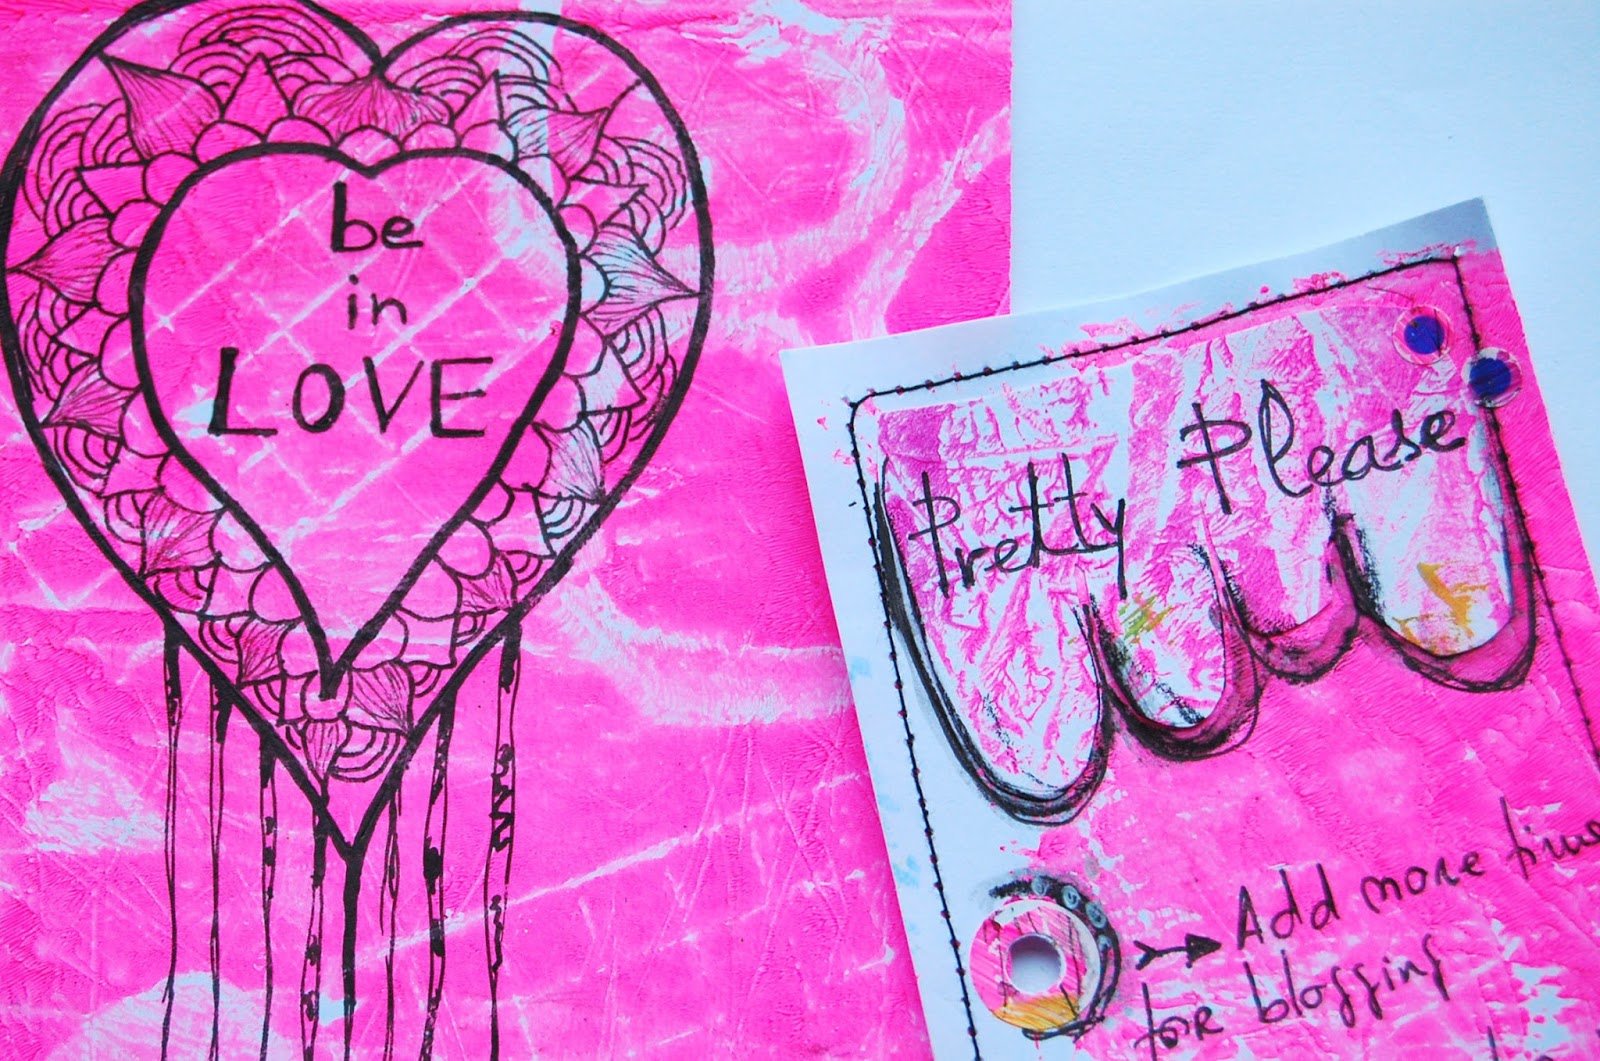


Can you see the stitches?! Symbolize the beating of our heart :)

My PAC was a symbiosis between my mandalas, my dream catchers and my love catchers, that are the symbols that I most draw! Then I stitched on paper( which I love love to do as your already noticed!!)


 This week I used the idea of Sandi Keene! The paper reinforces! I used them on my PAC and they look beautiful! :)


One of the things that I challenged myself,and all of you that would like to join me on Instagram with this challenge,to do this month some pattern studies!
I draw each day on a post it a different pattern and post it on Instagram!So I had to record this on my Unplanner!


If you want take a look my previous weeks you can go here.
If you want to know more about this wonderful project go here! It's been amazing! :)
Totally recommend!


Tuesday, November 10, 2015

crumpled papers


One of the things that I mot love to do is my own papers for my collages, or art journals, or other craft projects. I really love to do this.
You can use lots of things to make singular papers and unique. And I like this, the fact that my papers will be unique!!
Sometimes i use stamps, other times I print them in a plastic sheet (because I don't have a gelli print plate!!), or make simple strokes with acrylics, or some scribbles...!!

In my experiences with printing my own paper I come out with a gorgeous technique that will surprise you and make wonderful and unique papers!!

Today I share with you my crumpled colored paper!! It easy and make papers awesome!! Even I get so surprise when I created this papers.


Uma das coisas que adoro fazer é criar os meus próprios papeis, para colocar nos meus art journals, nnas minhas colagens, ou noutros projetos.
São muitas as técnicas que se podem utilizar para criar papéis únicos, diferentes, que não vai encontrar em mais lado nenhum.
Uso várias coisas, como carimbos, tinta, impressão num marcador de mesa de plástico, etc.

Mas hoje o que vos trago é o resultado de uma experiência com impressão, e que deu em papeis lindos, com textura, muito diferentes.


I smashed some sheets of "esquiço" paper (a paper between a print paper and a vegetable paper), to create wrinkles.

Amassar o papel de forma a criar márias engelhas.


 Then, in a plastic sheet put acrylic paint with a brayer.

Num marcador de mesa de pla´stico colocar a tinta, o papel por cima e passar com o rolo.

 Put the sheet and role the brayer to add paint.


Add another color to have contrast and make more texture!

Passe uma outra cor contrastante. Irá aumentar a textura.


After it dries, open the paper and you will have beautiful wrinkles that don't have paint and will give the paper a gorgeous look!!

Depois de secar abra o papel. Vai ter um aspeto lindo, cheio de engelhas e veios criados pela tinta. Muita textura e contraste.


Use other colors! Be creative! Have fun!!


Monday, November 9, 2015

How i do my backgrounds! An easy DIY for you!

Do you remember this Dream Catcher? I love drawing dream catchers or mandalas! And if sometimes I just doodle them around anything, other times i like to do more serious work for offering to my friends.

Today I want to share with you a little step to step of the process that I use to do the backgrounds where I draw my dream catchers or mandalas.
It's a very funny process and simple. So every one can do it and get really beautiful results.

Lembram-se deste Dream Catcher? Como sabe quem me segue eu adoro desenhar mandalas e dream catchers. E se a maior parte das vezes eu os desenho nos meus art journals, ou rabisco em papeis soltos, muitas vezes faço-os em trabalhos mais "sérios" que gosto de oferecer aos amigos.
Hoje partilho convosco um passo a passo do meu processo, para fazer o fundo para depois desenhar as minhas mandalas ou Dream Catchers.
É mesmo muito simples e divertido. Qualquer pessoa pode divertir-se a fazer.


I select some painted or stamped papers, that i previously make. another time I will talk about this. My process to do my papers. I love papers with colors, texture, and I collect all papers that i found.


Collage papers as you want!!


I love to scribble some intentions on my backgrounds. Beautiful and power words that will give to my work more meaning and good vibes for the friend will receive them.  And you will give to your work some texture!!

Neste processo eu gosto de escrever palavras, ou frases positivas que vão dar mais significado ao meu trabalho e boas vibrações a quem o vai receber, ( Eu acredito que sim)!:) Ao mesmo tempo vai dar alguma textura, pois muitas letras ou palavras vão ficar tapadas, mas ficam algumas a descoberto!!!

Add watercolors or acrylic strokes. Have fun with this. Be free and paint as your arms go!!
Agora divirta-se a pincelar cores. Use o aguarelas ou acrilicos. Divirta-se. Deixe-se ir sem medo!


I also love to add stamps. It gives texture!!

Também gosto de usar carimbos. Dá textura ao trabalho!!


The finishing touch is according to your taste. Again there is no recepies. Follow your intuition. I use some white  and gave some strokes with black !!

Os toque finais são conforme o gosto. Mais uma vez não há receitas. Siga a sua intuição. Esbati o fundo com branco e dei umas pinceladas com preto!! 


I use my backgrounds for drawing my mandalas and Dream Catcher. 


Monday, August 10, 2015

styrofoam printing plates


You know how much I love to do my own papers!! The backgouds came unique and diferent. You will have guaranteed fun.

I saw this technique used to play with kids, but since I have to play on a budget, because here in Portugal materials are difficult to find and very expensive I have to play with creative materials that I make at home!!
I use the foam plates that came with veggies and once again I don’t throw them away!!
I just draw a pattern with a wood stick. Don’t be afraid with the drawing part. Let you be free to draw anything.
Then apply acrylic paint with the brayer and print on the paper. Have fun.


Tips:

  • Choose 2 or 3 colors at once;
  • Put on the paper only parts of the printing plate;
  • Play with that and you will have wonderful and unique backgrounds.


Já vos disse que adoro fazer os backgrounds para os meus art journals. 
Não há melhor! Fazemos ao nosso gosto, exploramos os materiais, divertimo-nos a experimentar. As técnicas que podemos usar não têm fim e realmente depois de começar a explorar a imaginação é o limite. 

No próximos tempos vou deixar aqui ideias de como eu, de forma simples, faço backgrounds para os meus projetos. 

Começar a desenhar numa folha já colorida e com alguma textura é totalmente diferente do que começar numa folha em branco. As ideias surgem mais facilmente e logo vemos um resultado muito bonito.

Hoje deixo-vos uma técnica, que foi inicialmente difundida como uma técnica simples para fazer com as crianças, mas como em tudo, muitas vezes o mais simples funciona na perfeição. Eu tento sempre usar coisas criativas, que posso fazer em casa e a usar materiais que vou aproveitando.


Usei caixas de esferovite daquelas que trazem a vegetais, carne. Cortei o fundo e nele podem desenhar um padrão que pode ser muito simples. Com o rolo espalha-se tinta acrílica no prato e decalcamos no papel.O resultado é espetacular.Folhas únicas com texturas lindíssimas.


Dicas:

  • Não te preocupes se sabes desenhar ou não! Para dar textura ao papel, basta que faças um padrão na base de espuma.
  • Usa uma ou duas cores para começar;
  • Vai decalcando partes da impressão no papel;
  • Sobrepõe cores;
  • Não tenhas medo. O bom de tudo isto é relaxares e dares-te ao prazer de explorar sem receios. O resultado final será sempre espetacular!


Related Posts Plugin for WordPress, Blogger...